In late January, we held a one day symposium at the Victoria and Albert Museum titled 'Beyond Blue'. The link below will take you to the CFPR website, where we have uploaded all of the information relating to the day, as well as some short documentaries and highlights.
Wednesday 26 March 2014
Symposium
In late January, we held a one day symposium at the Victoria and Albert Museum titled 'Beyond Blue'. The link below will take you to the CFPR website, where we have uploaded all of the information relating to the day, as well as some short documentaries and highlights.
Friday 21 March 2014
Case Studies
As part of our project, we have invited a small group of artists and designers to each collaborate with us in the production of an underglaze decorated ware. Having selected a ware from the Burleigh range, patterns and/or imagery have been produced and made into printing plates, to then be printed in colour and transferred onto the objects.
The 4 projects are at various stages of production but here's a brief update to each of them.
Steve Hoskins.

Steve has provided a digital file of his artwork which he would like to see separated into 3 colours and tranferred into the depressed rings of this banded jug. He's interested in how the image will be read once the missing areas of the plane are removed from the raised surface. This piece poses technical challenges for me (which I love!) as it involves producing 3 new inks and some pretty tricky registration problems. As the bands are so small and fiddly, I plan to print and transfer one strip at a time. I'll photograph the process and update the blog in the coming weeks.
HiggBunn.
Having worked together in 2009 on a Contemporary Craft Fellowship, Jessie Higginson and Katie Bunnel were keen to readdress some of the imagery created at that time and incorporate it with their mutual love of all things ceramic. We spent a day together in the CPFR workshop in December producing numerous test plates and realised that the variable line widths and the subsequent space between these lines allowed for a wide tonal range for each colour. After many tweaks and adjustments to the digital file, Jessie and Katie have decided to print their desing in two colours onto a large, rectangular platter. A third layer will then be added as an onglazed screenprint, allowing the addition of some hand drawn elements.
These photographs show some of the test pieces - in the foreground of the first, you see the test plate with the different line widths. The second illustrates some of the colour options that were considered.


The final platters have been glazed and fired at Burleigh and are due to be returned here in a couple of weeks time, ready to have the third layer added before one final firing in our kiln.
Paul Scott.
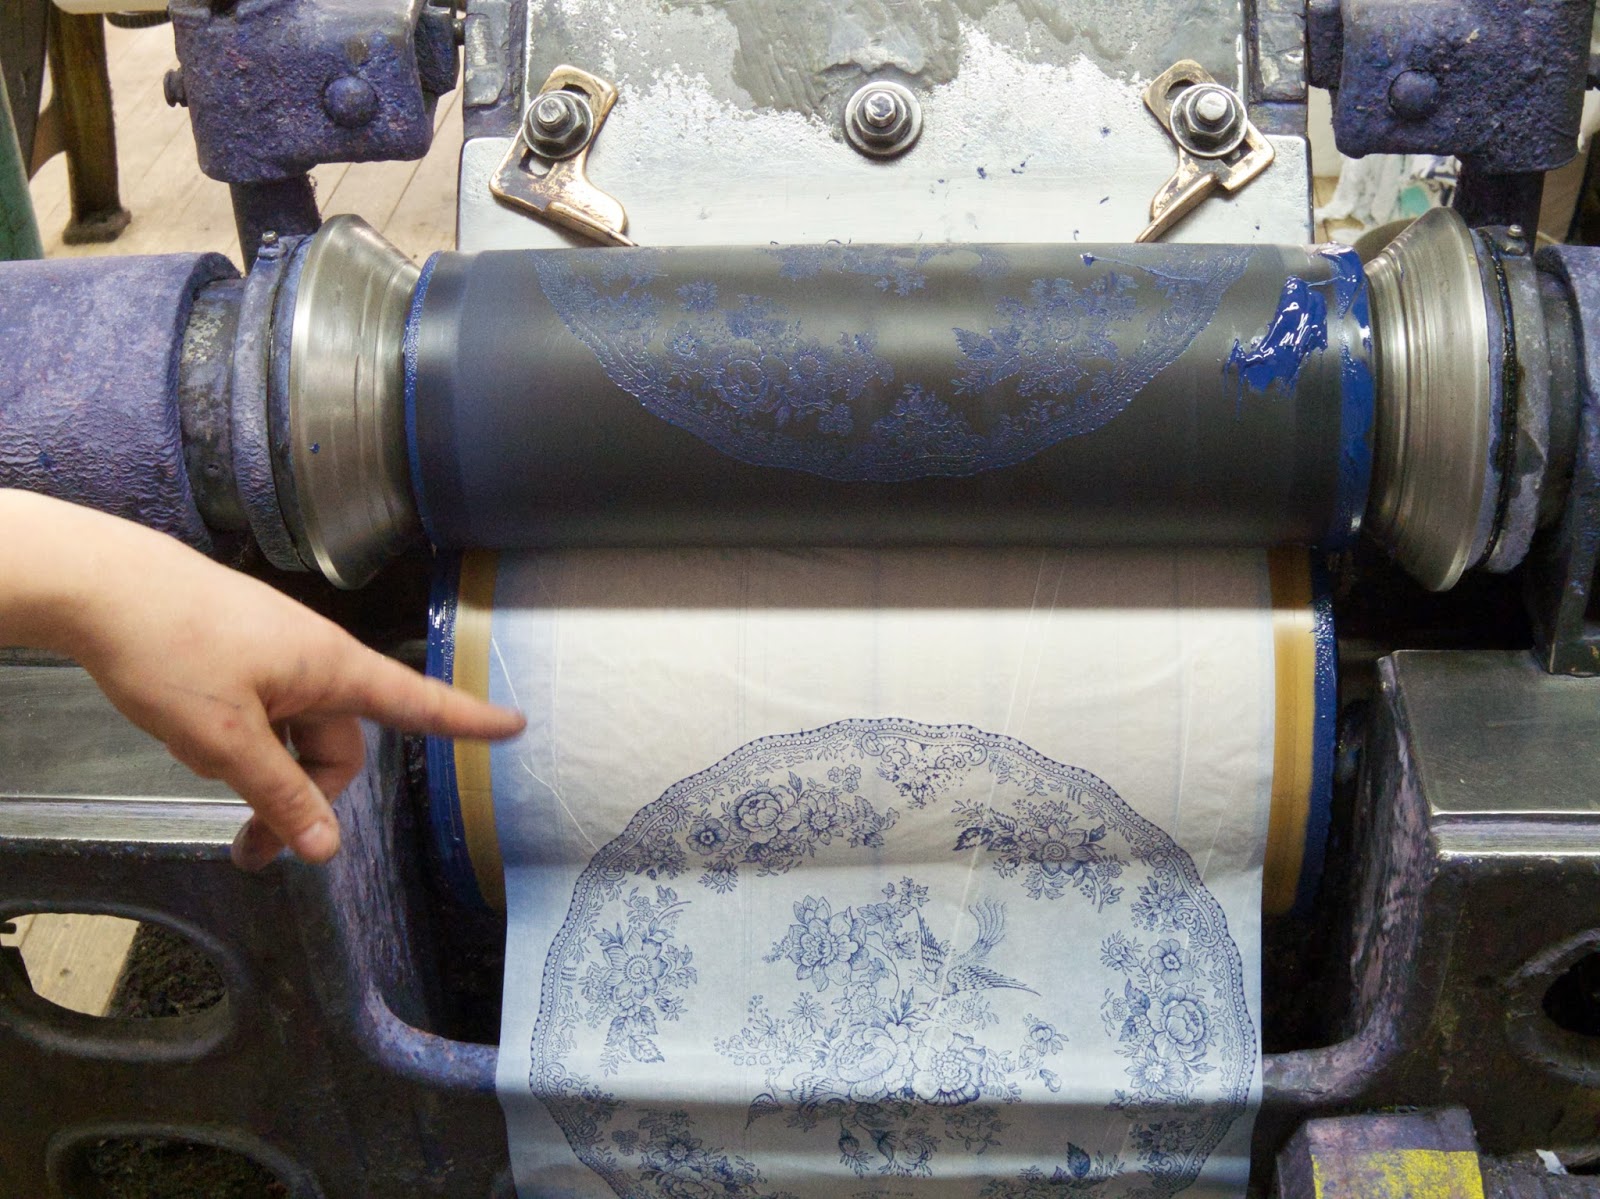
Paul is a massive blue and white fan so it came as no surprise when he jumped at the chance to produce an underglaze plate, in the trademark blue. For his piece, Paul has chosen to adapt an all over pattern, similar to the Burleigh Calico. (see strip below)

A few years ago, Paul was commissioned to create a public artwork in Hanoi. (read all about it on his blog - Cumbrian Blues ) The massive mural which he created was also based on traditional blue and white underglaze patterns and on completion, he was inspired by the local influence of the passing motorbikes. These fleeting vehicles, laden with passengers and piled high with all sorts of 'stuff' interfered with the pattern, and he chose to incorporate images from these photographs into a pattern for his new plate.
Paul has asked that his plate be printed in the traditional, 'Blue Calico' used at Burleigh so I am due to make some ink and print the pieces in this beautiful, strong colour soon. Once completed, I'll add some photos.
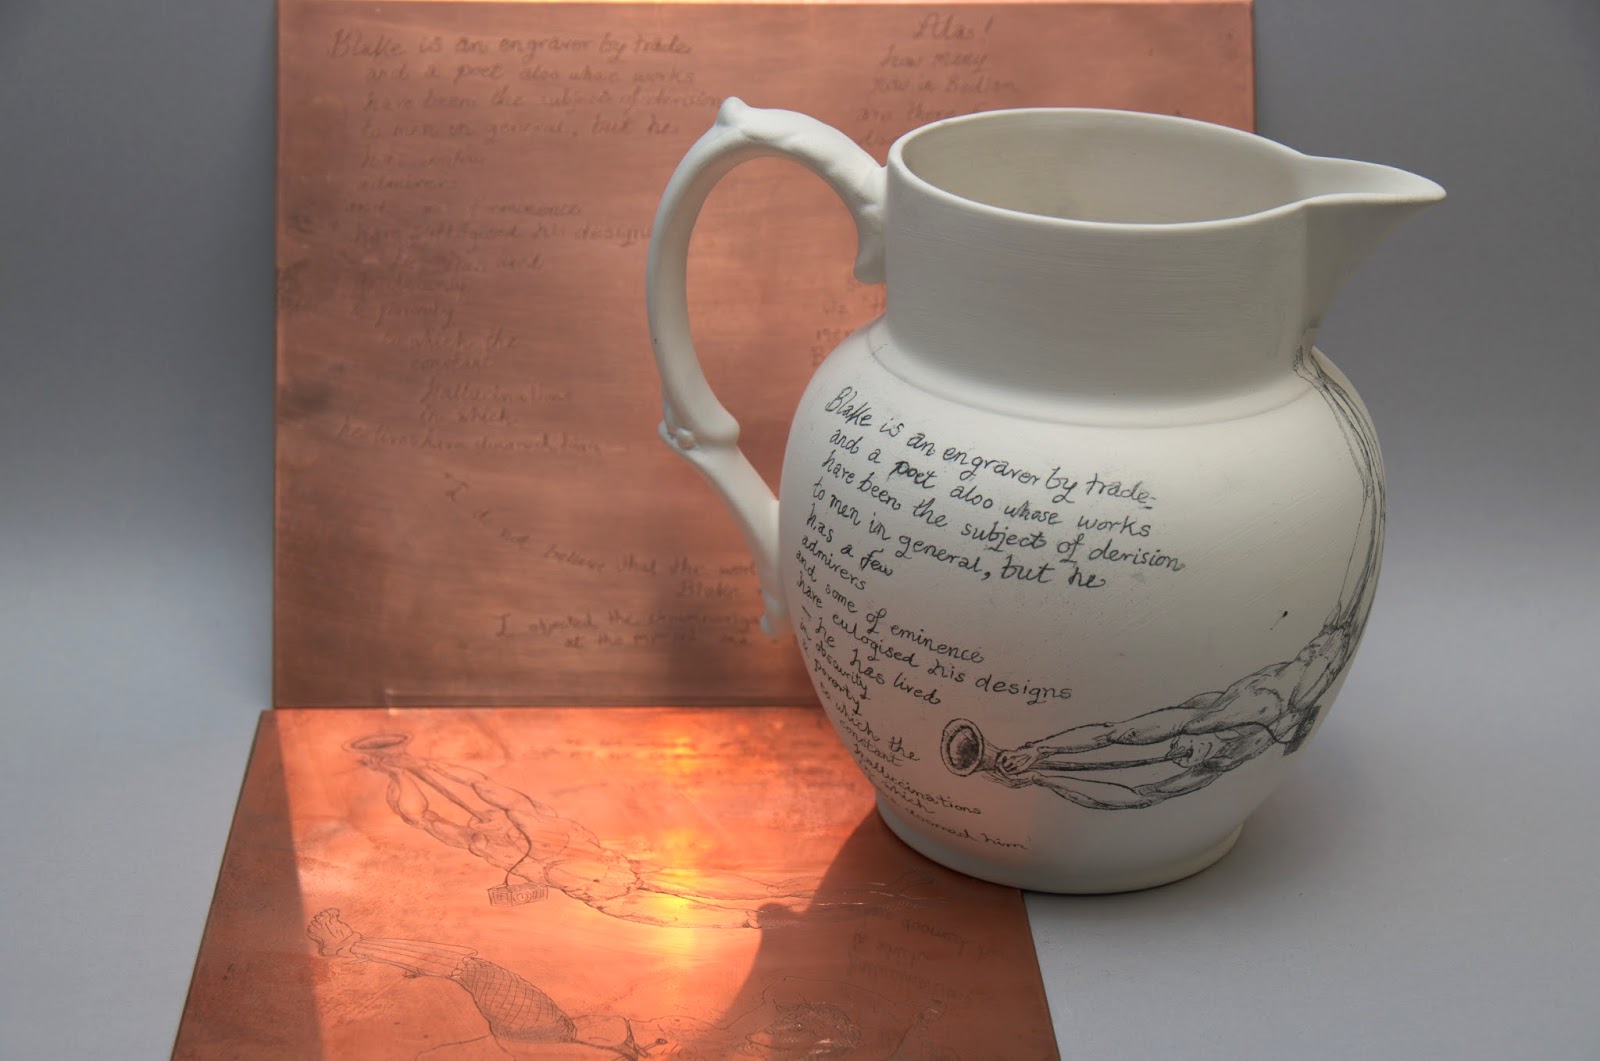
Chris Orr.
When Chris first arrived at the CFPR workshop, he brought along with him a selection of his printing plates - etchings and drypoints. Initially, I was unable to print from them as the ink needed to be heated (which eliminated the option of printing from the drypoint plastic plates) and the etched lines were too shallow to hold the stiff ink. However, after many trials and modifications to both the ink and the printing, we were able to successfully print and transfer onto test wares.
This photo shows one of Chris' plastic plates, alongside a print onto paper from it. The jug shows some success, yet the lines are far weaker than that in the paper print.

We then went on to print from the etching plates and discovered that, with a far looser ink, damp backing paper and a higher printing pressure, we were able to retain a lot of the subtle tones and fine marks that were in the surface of the copper.


From these tests, Chris decided to print from his etching plates for his editioned ware, which is in two colours (from 3 plates) onto a large, etruscan jug. Here's a photo showing two of the copper plates and one side of the jug.
The 4 projects are at various stages of production but here's a brief update to each of them.
Steve Hoskins.
Steve has provided a digital file of his artwork which he would like to see separated into 3 colours and tranferred into the depressed rings of this banded jug. He's interested in how the image will be read once the missing areas of the plane are removed from the raised surface. This piece poses technical challenges for me (which I love!) as it involves producing 3 new inks and some pretty tricky registration problems. As the bands are so small and fiddly, I plan to print and transfer one strip at a time. I'll photograph the process and update the blog in the coming weeks.
HiggBunn.
Having worked together in 2009 on a Contemporary Craft Fellowship, Jessie Higginson and Katie Bunnel were keen to readdress some of the imagery created at that time and incorporate it with their mutual love of all things ceramic. We spent a day together in the CPFR workshop in December producing numerous test plates and realised that the variable line widths and the subsequent space between these lines allowed for a wide tonal range for each colour. After many tweaks and adjustments to the digital file, Jessie and Katie have decided to print their desing in two colours onto a large, rectangular platter. A third layer will then be added as an onglazed screenprint, allowing the addition of some hand drawn elements.
These photographs show some of the test pieces - in the foreground of the first, you see the test plate with the different line widths. The second illustrates some of the colour options that were considered.
The final platters have been glazed and fired at Burleigh and are due to be returned here in a couple of weeks time, ready to have the third layer added before one final firing in our kiln.
Paul Scott.
Paul is a massive blue and white fan so it came as no surprise when he jumped at the chance to produce an underglaze plate, in the trademark blue. For his piece, Paul has chosen to adapt an all over pattern, similar to the Burleigh Calico. (see strip below)
A few years ago, Paul was commissioned to create a public artwork in Hanoi. (read all about it on his blog - Cumbrian Blues ) The massive mural which he created was also based on traditional blue and white underglaze patterns and on completion, he was inspired by the local influence of the passing motorbikes. These fleeting vehicles, laden with passengers and piled high with all sorts of 'stuff' interfered with the pattern, and he chose to incorporate images from these photographs into a pattern for his new plate.
Paul has asked that his plate be printed in the traditional, 'Blue Calico' used at Burleigh so I am due to make some ink and print the pieces in this beautiful, strong colour soon. Once completed, I'll add some photos.
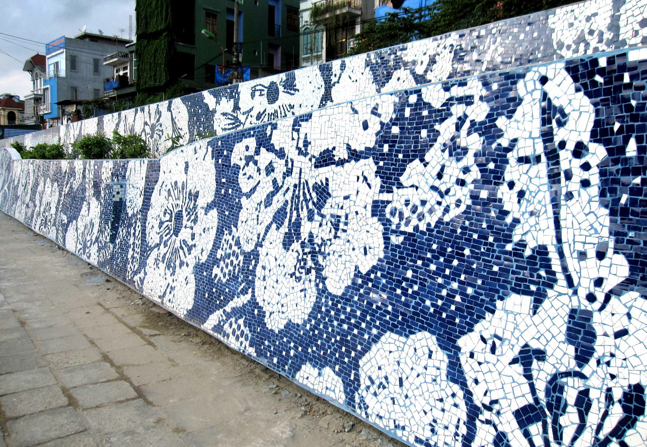 |
| Photo of Paul's mural in Hanoi, taken from his blog. (photo credit to Nguyen Thu Thuy and Bui Viet Doan) |
When Chris first arrived at the CFPR workshop, he brought along with him a selection of his printing plates - etchings and drypoints. Initially, I was unable to print from them as the ink needed to be heated (which eliminated the option of printing from the drypoint plastic plates) and the etched lines were too shallow to hold the stiff ink. However, after many trials and modifications to both the ink and the printing, we were able to successfully print and transfer onto test wares.
This photo shows one of Chris' plastic plates, alongside a print onto paper from it. The jug shows some success, yet the lines are far weaker than that in the paper print.
We then went on to print from the etching plates and discovered that, with a far looser ink, damp backing paper and a higher printing pressure, we were able to retain a lot of the subtle tones and fine marks that were in the surface of the copper.
From these tests, Chris decided to print from his etching plates for his editioned ware, which is in two colours (from 3 plates) onto a large, etruscan jug. Here's a photo showing two of the copper plates and one side of the jug.
Thursday 20 March 2014
Plate types
Over the course of the project, a variety of plate types have been produced and tested. Below are some examples of these. The first is the original, which was printed cleaned up, digitised and the file used in the manufacture of all of the others.
 |
| Original copper engraved flat plate (with chrome facing) |
The second photo shows a number of flexo plates. These have been made in various ways - some processed in house, by hand and others outsourced to commercial plate makers. We experimented with different manufactures, polymer thicknesses, shore hardness and backings.
 |
| Flexo plates |
 |
| Laser engraved acrylic |
This last photo shows a comparison with our 3 plate types - the original copper engraving, a flat, laser engraved polymer and the laser engraved rubber roller

Rubber Roller Improvements
As mentioned in earlier posts, we have managed to replicate the original Burleigh designs onto rubber rollers by utilising laser engraving technologies. Although initial trials gave positive results in terms of line weight and depth, the fragility of the rubber became apparent once we ran the roller on the old printing presses at Burleigh. Part of the project stipulates that we make as little adaptations as possible to the original process and so we need to find a roller which can work on these presses, with the heated element and their current inks.
 |
| Laser engraved rubber roller (& close up) |
After discussions with the laser engraving firm, we managed to have a metal core fabricated, to both strengthen the rubber and help to more evenly distribute and retain the heat. Key ways were added the the ends to prevent the roller slipping as it rotates.
 |
| The split roller, after trials and the new, improved roller on the metal core. |
Doctor Blades
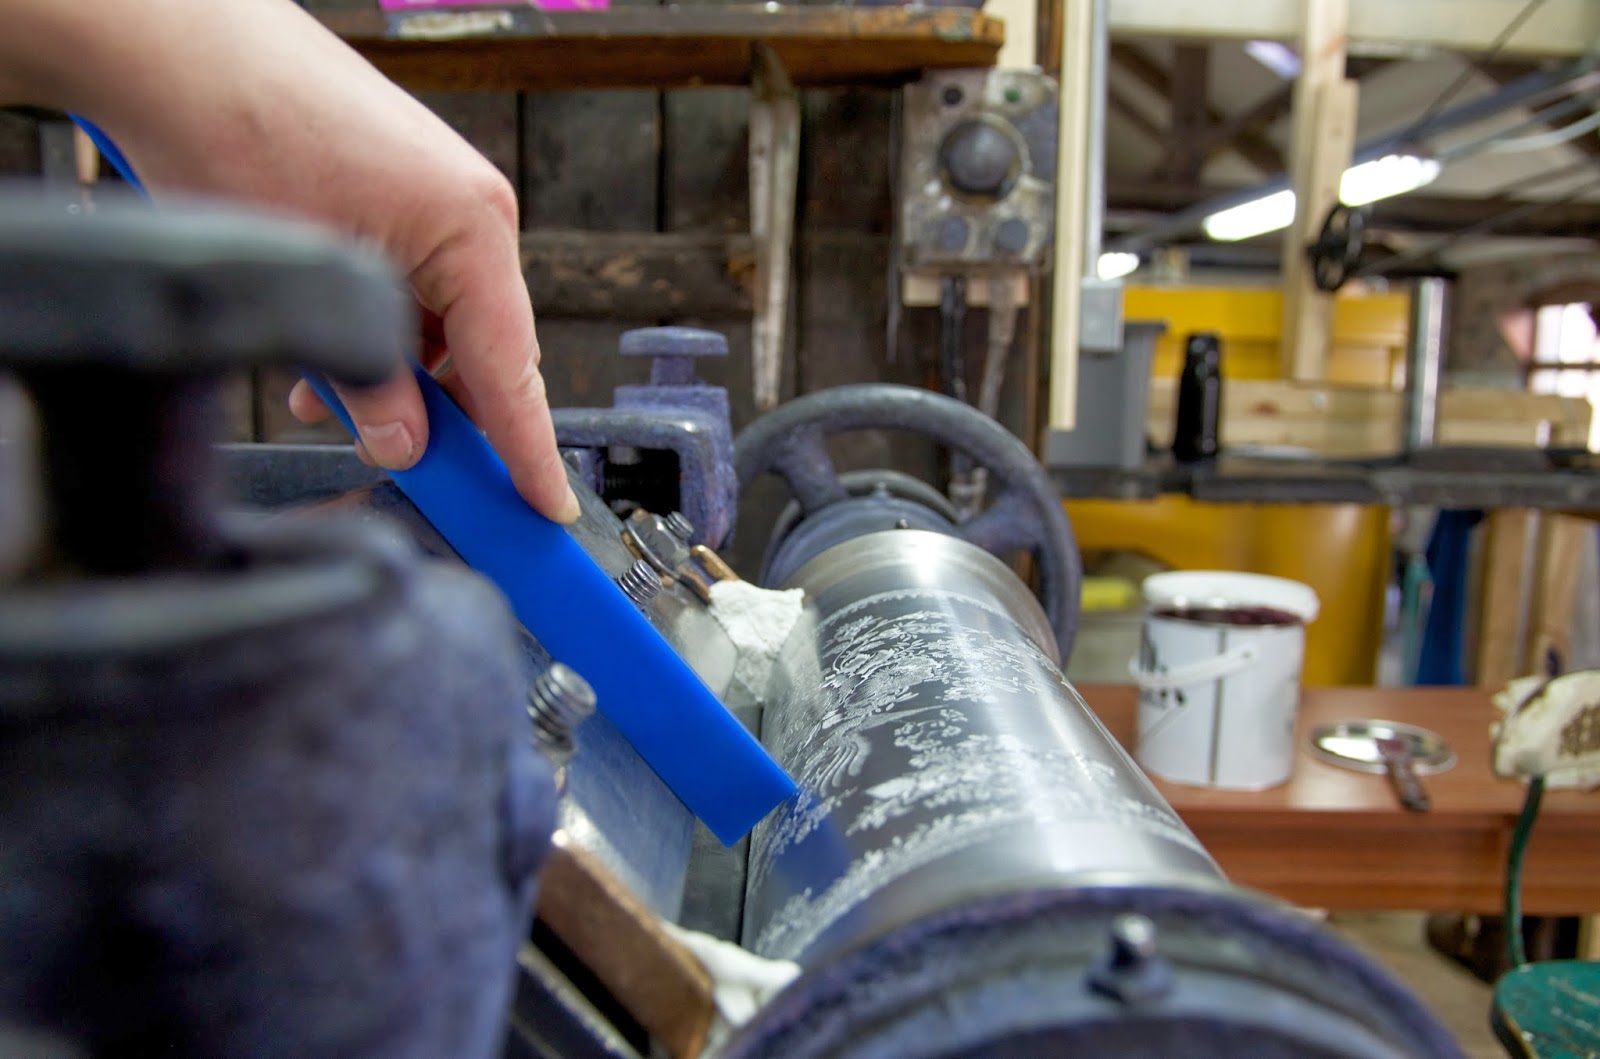
One of the major components in the printing set up at Burleigh is the 'doctor blade'. Currently, a very thin steel blade is attached to the heavy, metal housing. This the sits along the top edge of the press, with pressure being applied along the back edge of the copper roller. The thick ink is applied (cold) along the length of the heated roller which, as it rotates, pools the warmed ink into the cavity between roller and blade. As the doctor blade is locked into place, it then does a second job of wiping the surface of the inked roller clean, leaving the ink deposited only in the positive marks.
Although this set up (using a steel blade) is working, we fear that it is contributing to the increasing damage that is frequently appearing on the chromed surface of these engraved rollers. Also, the steel would cause havoc with our newly laser engraves rubber sleeves, so over the course of the project, we have been testing alternatives.
We began by trying a variety of shore hardnesses of urethane 'squeegee' blades, as used in screenprinting applications. The harder the shore, the cleaner the rubber would wipe. However, the thickness of these was problematic as it altered the angle that the blade met the roller, causing it to jump around during printing.
After sourcing thinner lengths or hard shore urethane (this time with various profiles), we returned to Burleigh to conduct more trials. The results were promising, however the press which we used is the less favoured one within the factory. We realised that the scraper bar housing on this press leaves less room for adjustments to the angle and pressure of the blade. Once again, this blade is too high up the roller
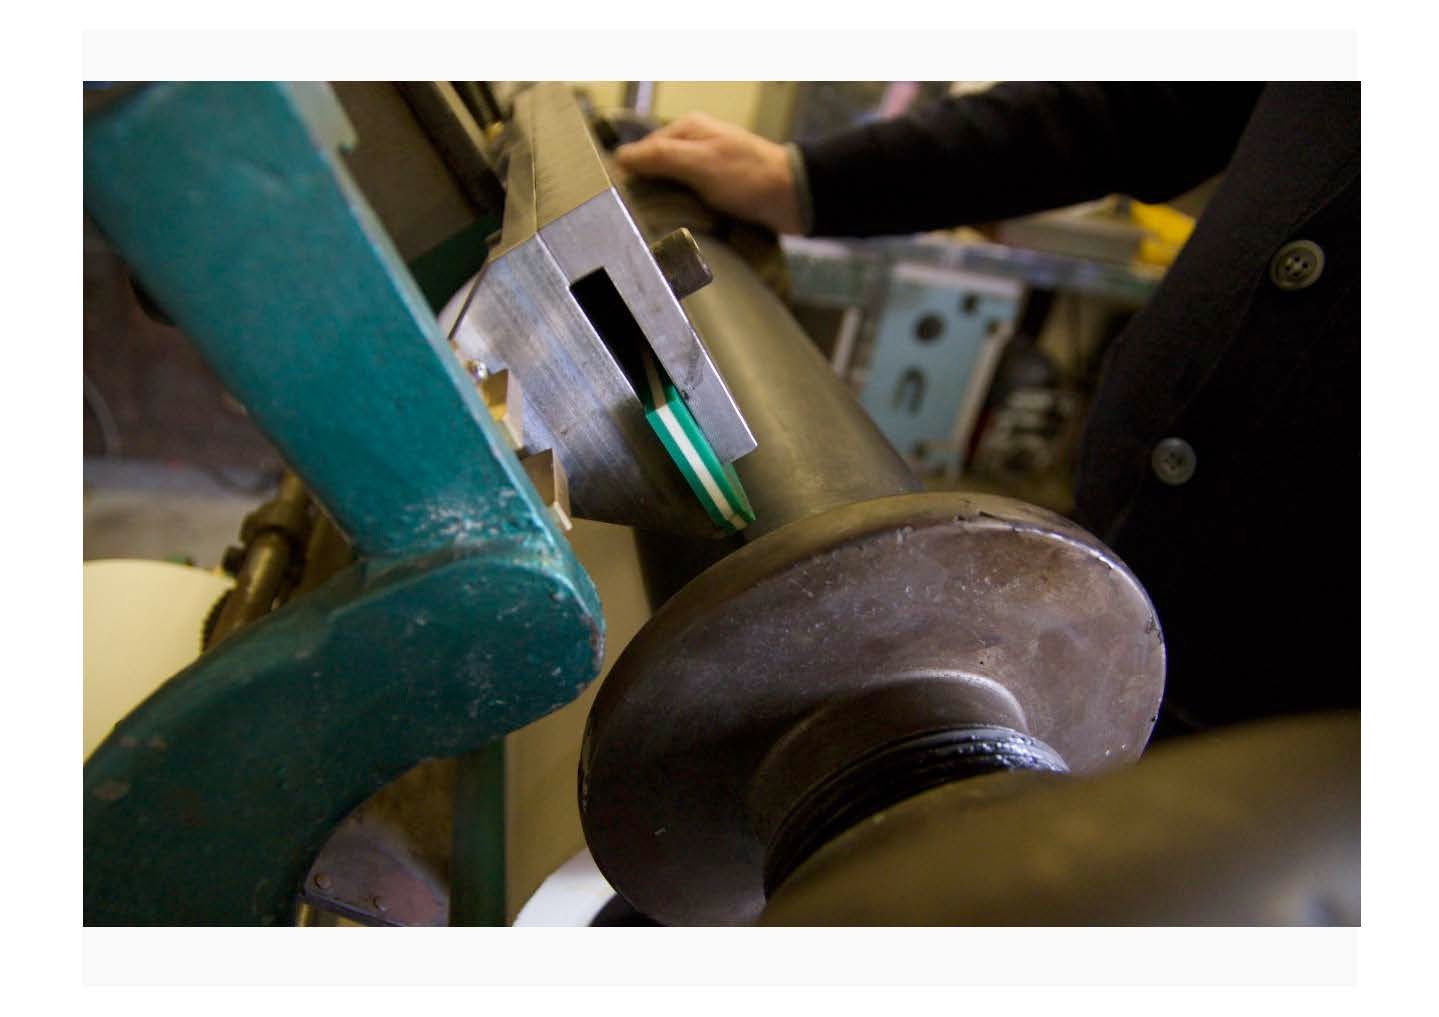
On our most recent trip, we were able to use the 'favourite' press, with our improved roller (with metal core) and triple shore urethane blades. By setting the angle and pressure as we had learned from previous trips, we were able to pull successful prints.
 |
| A steel blade set up to print a copper roller (chrome faced) Here, we are checking the angle of the blade so that we can mimic it on the second press. |
Although this set up (using a steel blade) is working, we fear that it is contributing to the increasing damage that is frequently appearing on the chromed surface of these engraved rollers. Also, the steel would cause havoc with our newly laser engraves rubber sleeves, so over the course of the project, we have been testing alternatives.
 |
| A selection of the blades which we have tried. On the top, is the steel which is currently used. Below are a selection of commercial alternatives (other metals with various angled edges and coatings), plastics, rubbers and urethanes. |
 |
| Squeegee blade on rubber roller. The blade is sitting too high. |
 |
| Resulting prints from initial trial with squeegee blade |
 |
| Triple shore urethane on rubber roller. (2nd press) |
 |
| Resulting print from urethane blade on favoured press. |
Wednesday 12 March 2014
Printing Demo
1. Ink.
2. Thoroughly blending all of the dry ingredients into the linseed.
3. Spreading the ink onto the plate, into all of the etched and incised marks.
4. Using scrim to remove the ink from the plate's surface.

5. Laying the tissue onto the inked and wiped plate.
6. Running the plate and tissue through the press, under the felt blankets.
7. Lifting the printed tissue from the plate.
8. The print, alongside the plate.
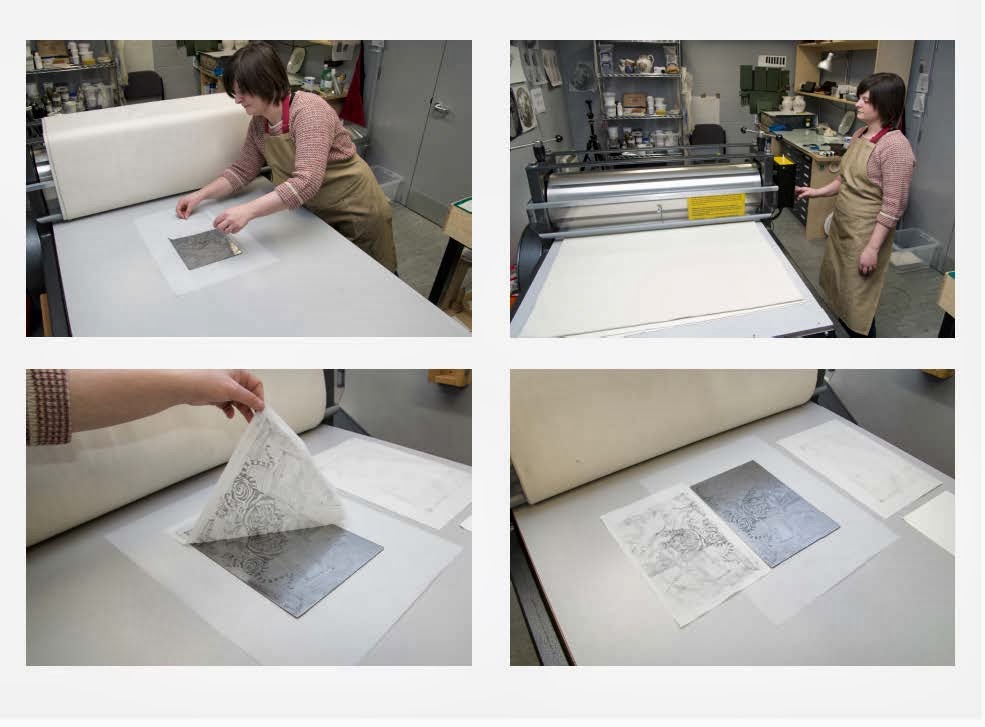 9. Trimming the tissue to size.
10. Rubbing the back of the print to position the ink onto the biscuit ware.
11. Applying pressure to the back of the print by brush, ensure a good contact.
12.Washing the tissue from the newly transferred ware. The ware is now ready to be fire, hardening the coloured stain to the biscuit.

Thursday 31 October 2013
.JPG)
Subscribe to:
Posts (Atom)